


Most motorcyclists have experienced this: they get on their bike, turn the key, and nothing happens. The diagnosis is a dead battery. So what causes your battery to fail in the first place and what can you do to extend the life of your battery. We detail it out for you in this blog.
The two primary reasons for battery failure are wear and tear and the ageing process. When it comes to batteries: the more frequently and deeply motorcycle batteries are drained, the greater the wear and tear. Furthermore, if you only ride your motorcycle occasionally or for short distances, the alternator will be unable to fully charge the battery while electrical accessories will continue to empty it.
Riders assume that cold temperatures affect batteries, yet it is heat that causes them to fail. For a battery, an outdoor temperature of +20 °C is ideal. In the summer, though, the temperature regularly exceeds +30 °C. High temperatures cause the battery to self-discharge, causing it to age quicker. This process passes undetected in the summer and fall, but when the engine requires more energy to start in the winter, problems frequently arise.
Checking on your battery

A Multimeter is used to measure an open circuit voltage of roughly 12.8 V in an ideal condition. If the battery voltage goes below 12.4 V, it should be recharged as quickly as possible. A continual low charge causes sulfation in the battery.
Before starting the engine or charging the battery, do a quick three-step inspection.
- Inspect the terminals, connections, connectors, and cables for any signs of damage, corrosion, or fractures.
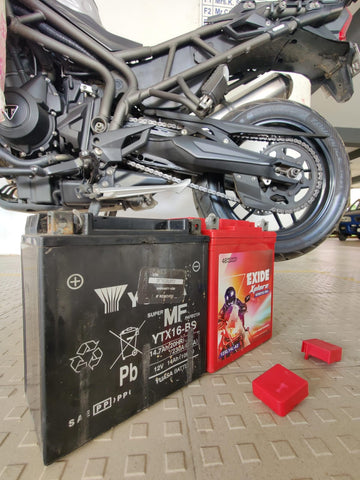
- Examine the battery shell for cracks, leaks, and discoloration.
- Check the battery voltage and, if required, charge it.
To work optimally, the battery must be completely charged. The charging current recommended is 10% of the nominal capacity in amperes (e.g., a 4 Ah battery requires a 0.4 A charging current).
How to extend the life of your battery?
Simple answer, keep the battery charged. When it comes to charging a battery outside of a motorcycle the appropriate treatment may make all the difference. There are a few techniques to remember if you want to get the most out of your battery.
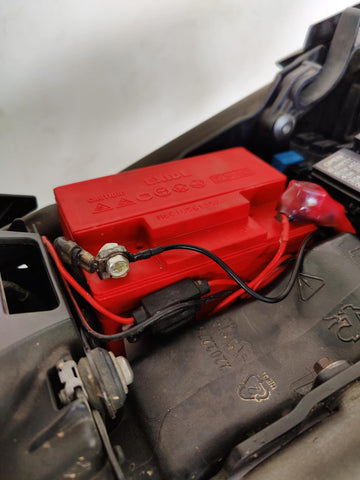
- Unplug the cords
This is quite important: First, disconnect the connection going to the negative terminal This will avoid a short circuit between the positive and ground terminals. The red cable should then be disconnected from the positive terminal
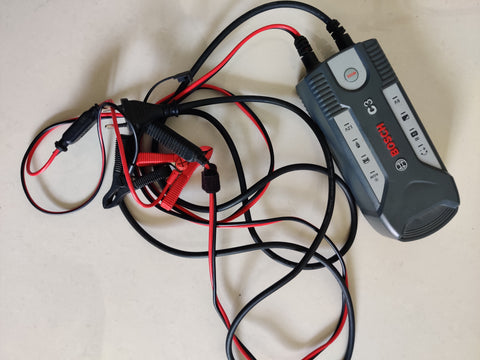
2. Begin charging
If the battery is left in the motorcycle, make sure all electrical accessories connected to the battery are turned off or removed before attaching the charger. Also, make sure the charger is connected to the battery before powering it on. Begin by connecting the red wire to the battery's positive terminal, then the black cable to the negative terminal.
3. Discontinue charging
When the charger indicates that the battery is completely charged, turn off the charger before removing the cords from the battery. If you are reconnecting the battery, attach the red wire to the positive terminal first, followed by the black cable connected to the negative terminal.
The ideal charging time.
It takes time to charge a battery. Typically, 12 to 24 hours of charging time is sufficient. A typical 70Ah battery, for example, takes around 15 hours to completely charge using a 5A charger. A two-hour charge will only get the battery to 15% capacity. That will provide a temporary boost but will not fully charge the battery. To determine the total charge time for a battery, multiply the Ah-rating by the charger rating (A). Then add around 10% for the extra time required to completely charge the battery.
If you keep a few simple things in mind, you will get the most out of your battery and be confident that it will last for a long time.
For more insightful reads, check out our Blog Page.


